DISM vs SFC: Which Windows Repair Command Runs First?
 Tech Guru
Quick Answer
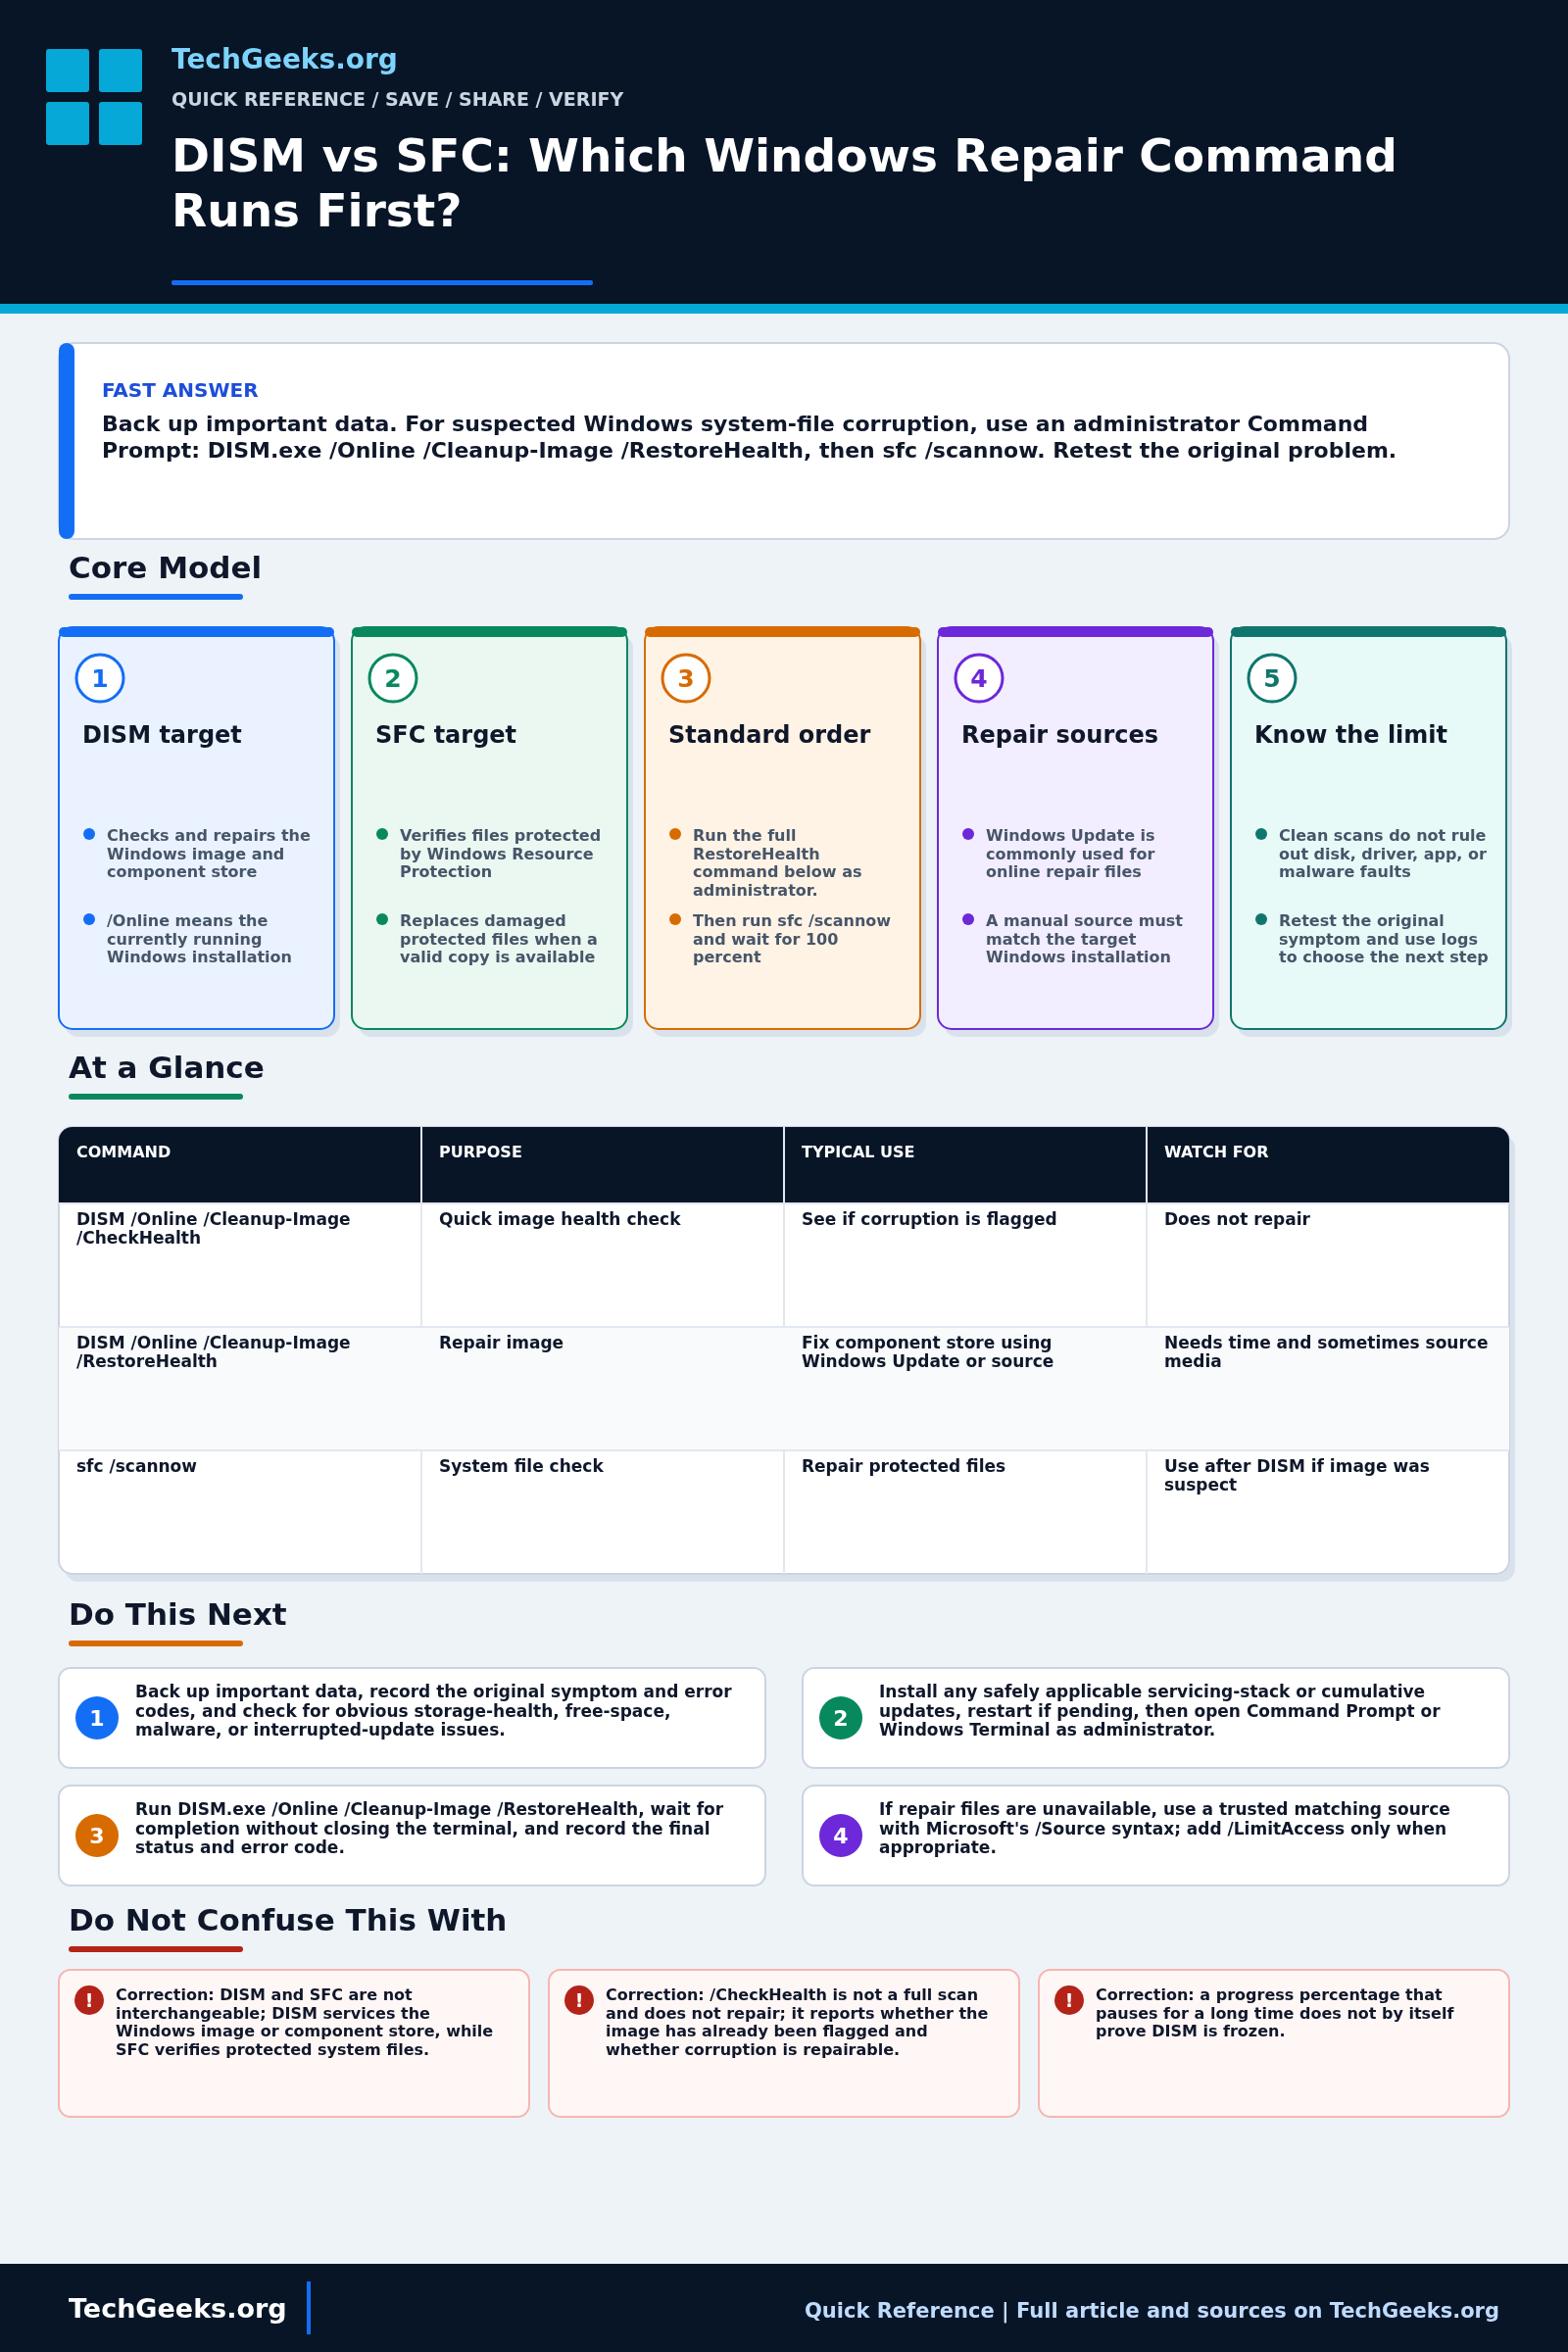
For suspected Windows system-file corruption, open Command Prompt as administrator, run DISM.exe /Online /Cleanup-Image /RestoreHealth, then run sfc /scannow. DISM repairs the component source; SFC checks protected files. Back up important data first and retest the original problem afterward. These documented commands were not run for this article and do not diagnose every driver, application, memory, or storage fault.
Start Here: The Beginner Foundation
DISM and SFC are built-in Windows repair tools with different targets. For a running Windows installation, DISM can inspect and repair the Windows image and component store that supplies known-good Windows components. SFC checks Windows Resource Protection files and attempts to replace missing or corrupted protected system files from an appropriate source.
Microsoft's current support sequence for suspected system-file corruption is to open Command Prompt as administrator, run DISM.exe /Online /Cleanup-Image /RestoreHealth, let it finish, and then run sfc /scannow. Running DISM first matters when the component store itself is damaged, because SFC may otherwise lack a healthy source for a replacement. A quick SFC-only check can still be reasonable when there is no evidence that the repair source is damaged.
Neither command is a universal Windows repair. They do not directly repair a failing SSD, remove all malware, fix every driver or application, rebuild a user profile, or guarantee that a reported symptom disappears. Protect important data first, record exact command results, and investigate hardware, logs, updates, drivers, and application-specific evidence when corruption checks are clean or damage returns.
The Fast Comparison
| Command | Purpose | Typical use | Watch for |
|---|---|---|---|
| DISM /Online /Cleanup-Image /CheckHealth | Quick image health check | See if corruption is flagged | Does not repair |
| DISM /Online /Cleanup-Image /RestoreHealth | Repair image | Fix component store using Windows Update or source | Needs time and sometimes source media |
| sfc /scannow | System file check | Repair protected files | Use after DISM if image was suspect |
Advanced Notes and Design Boundaries
DISM and SFC have narrow repair scopes. Their exit status, servicing logs, repair-source match, current Windows build, and a retest of the original symptom matter more than a progress bar reaching 100 percent.
- In DISM, /Online selects the currently running Windows image; /CheckHealth reads whether corruption was already flagged, /ScanHealth performs a deeper component-store scan, and /RestoreHealth scans and performs repair.
- For an online image, DISM normally uses the configured repair source and can contact Windows Update; /Source supplies known-good files and /LimitAccess prevents Windows Update access.
- A repair source must match the target closely enough in edition, language, architecture, version, and servicing level; Microsoft warns that a source behind the target's cumulative update can fail to provide required files.
- SFC writes repair details into %windir%\Logs\CBS\CBS.log; filter entries from the relevant run and correlate timestamps instead of treating every historical CBS error as current.
- A successful DISM or SFC exit establishes only what that tool checked and repaired. Reboot when appropriate, reproduce the original symptom, and continue root-cause analysis if the system remains unstable.
Troubleshooting Workflow
Record the Windows edition, version, OS build, pending-reboot state, free space, original error, and command output before repair. Protect data and the BitLocker key so escalation to recovery media remains possible.
- Back up important data, record the original symptom and error codes, and check for obvious storage-health, free-space, malware, or interrupted-update issues.
- Install any safely applicable servicing-stack or cumulative updates, restart if pending, then open Command Prompt or Windows Terminal as administrator.
- Run DISM.exe /Online /Cleanup-Image /RestoreHealth, wait for completion without closing the terminal, and record the final status and error code.
- If DISM cannot find source files or reach Windows Update, obtain a trusted matching Windows repair source and rerun with the documented /Source syntax and /LimitAccess only when appropriate.
- Run sfc /scannow, allow verification to reach 100 percent, and classify the exact Windows Resource Protection result rather than assuming any completed scan succeeded.
- Restart, retest the original problem, review current DISM and CBS evidence if errors remain, and move to targeted driver, update, disk, malware, restore, or repair-install diagnostics as the evidence requires.
Evidence and Repair-Verification Method
Evidence status: Command order, switches, logs, and repair-source requirements are documentation-backed by current Microsoft Support and Microsoft Learn pages reviewed July 15, 2026. TechGeeks did not run DISM or SFC, inject component-store corruption, or validate an offline source for this draft. The commands operate on system servicing state; their success does not independently diagnose the user's original symptom.
- Planned test environment: a disposable Windows VM with a pretest snapshot, current edition, language, architecture, version and OS build recorded, adequate free space, and a known symptom or controlled servicing condition.
- Collect: exact elevated commands, start and finish times, exit text and codes, Windows Update or supplied-source path, current DISM.log and CBS.log entries, reboot state, and a repeat of the original symptom after repair.
- Accept: DISM reports a successful repair or documented healthy state, SFC reports no remaining unrepairable protected files, the system restarts cleanly, and the symptom-specific test passes. Otherwise revert the VM snapshot and investigate the indicated subsystem.
Elevation, Data, Privacy, and Recovery Boundaries
Run servicing commands only on systems you are authorized to administer. DISM normally requires elevation and may contact Windows Update unless policy or command options direct it to another repair source, which matters on restricted or metered networks. Logs can include paths, package names, usernames, and environment details; redact them before public sharing. Protect user data and obtain the BitLocker recovery key before offline repair, firmware work, partition changes, reset, or reinstall. Never download loose DLL files or repair images from an untrusted site. If a matching trusted source cannot repair the image, stop repeating commands, preserve logs, check storage and memory evidence, and move through supported restore point, uninstall-update, repair-install, backup restore, or clean-install options.
What Command Success Does Not Prove
- Correction: DISM and SFC are not interchangeable; DISM services the Windows image or component store, while SFC verifies protected system files.
- Correction: /CheckHealth is not a full scan and does not repair; it reports whether the image has already been flagged and whether corruption is repairable.
- Correction: a progress percentage that pauses for a long time does not by itself prove DISM is frozen; wait for the final result while monitoring system activity and documented timeouts.
- Correction: clean DISM and SFC results do not prove the disk, memory, drivers, applications, user profile, or malware state is healthy.
Real-World Use Cases
- Use elevated Command Prompt or Terminal.
- Run DISM before SFC for suspected image corruption.
- Review command output instead of closing the window immediately.
- Escalate to repair install or restore only after data is protected.
Failure Patterns to Recognize
- DISM cannot reach Windows Update.
- SFC reports files it cannot repair.
- Underlying disk errors keep corruption returning.
- Malware or bad drivers are the real cause.
Common Mistakes
- Running commands without admin rights.
- Assuming success means the original problem is fixed.
- Skipping backups before deeper recovery.
- Copying random registry fixes from forums.
Quick Checklist
- Back up important data.
- Open admin terminal.
- Run
DISM.exe /Online /Cleanup-Image /RestoreHealthand record its final status. - Run
sfc /scannowand record the Windows Resource Protection result. - Reboot.
- Check logs or next recovery step if errors remain.
Common Questions
Useful Gear And Buyer Notes
Affiliate disclosure: As an Amazon Associate, TechGeeks may earn from qualifying purchases. The product links below are buying references, not a requirement to buy a specific brand or seller. Verify compatibility, seller quality, warranty, and current specs before ordering.
A recovery USB drive is useful only when it boots on the target PC and matches its architecture and intended recovery path. Keep a separate current backup; repair media does not preserve files automatically.
Related TechGeeks Reading
- Back Up a Windows PC to a NAS Automatically provides the data-protection step that repair commands cannot replace.
- Windows 10 ESU and Windows 11 Privacy Survival Guide adds lifecycle and recovery context for current PCs.
- Should Old Windows 10 PCs Become Proxmox or Linux Nodes? helps decide when repeated repair is no longer the best use of aging hardware.